What Are We Up To? (Complete)
What are we up to this week at Creations In Tile & Marble?
This week we are working on a 3cm Mascarello granite kitchen. We really want to take you from start to finish on this week’s blog. For anyone that is curious about the process, please continue to read to learn all about it. This project is located in Larkspur, the existing cabinets are being used. They are using a beautiful 3cm granite called Mascarello, they are doing a quarter round edge profile, the sink will be an undermount and a cook top will be cut out at the time of installation. We are also doing rip out of the existing countertops on this project and will be installing the actual Mascarello countertops on Thursday. Please check back with us Thursday afternoon or Friday to see the countertop installation pictures. We are also doing the installation of the tile backsplash following the installation of the countertops, please check back to see those pictures as well. They will be using a beautiful limestone tile with accent pieces of copper stainless steel.
The material has been selected, what comes next?
Once the material is selected and the estimate is complete and accepted, we schedule the template. A representative of our company goes out to the project and takes hard templates of the countertops that are being replaced. Once the templates are complete and back at our shop we verify the templates will work with the material that has been selected. If everything looks good at this point, we then schedule the slab delivery. Once the slabs are delivered we start the fabrication process. For this particular client they chose to do a slab layout. A slab layout is where you schedule to come down and look at your slabs and templates to discuss how the slabs will actually layout and how they will look on the countertops. Once the slab layout is complete we start cutting. Once the slabs are cut to the project specifications, edging is then done and any undermount sink holes are then cut and polished. Once the fabrication process is near completion, a phone call is made to the client to set up the installation.
The Process:
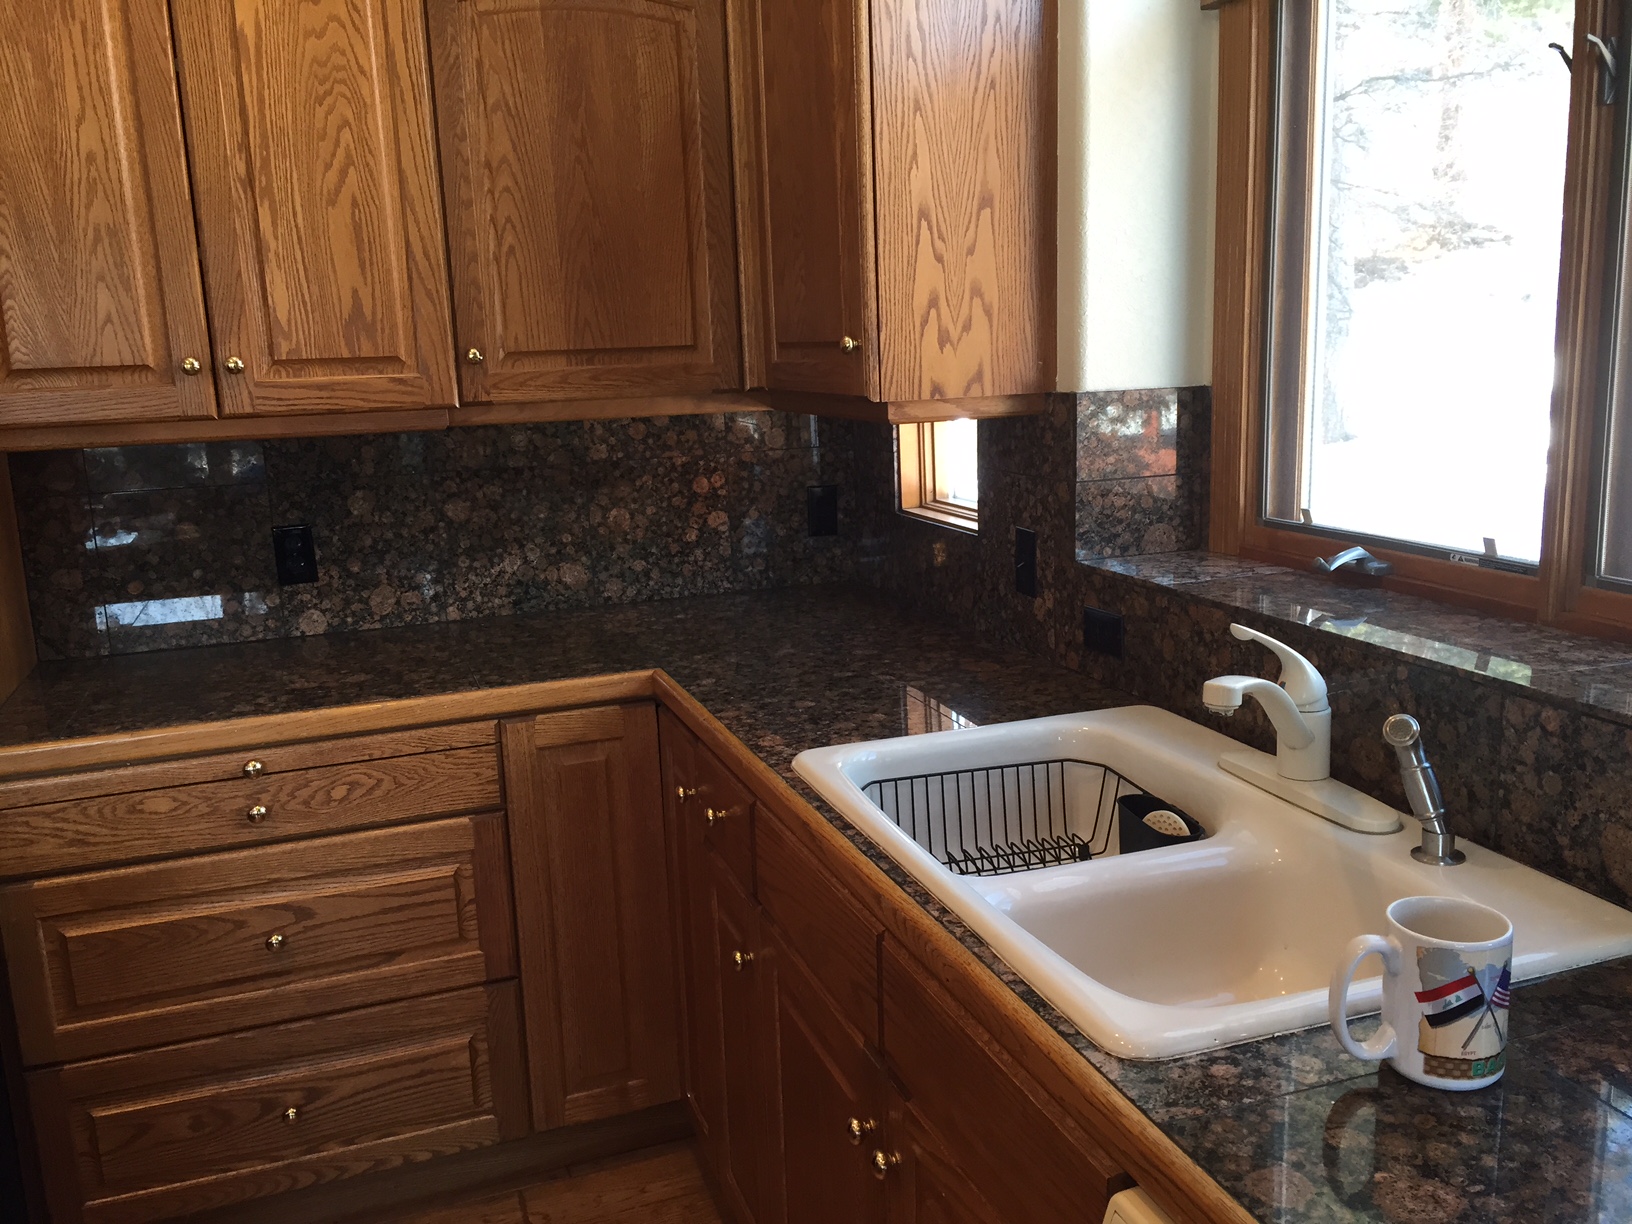
Before picture of kitchen at time of template
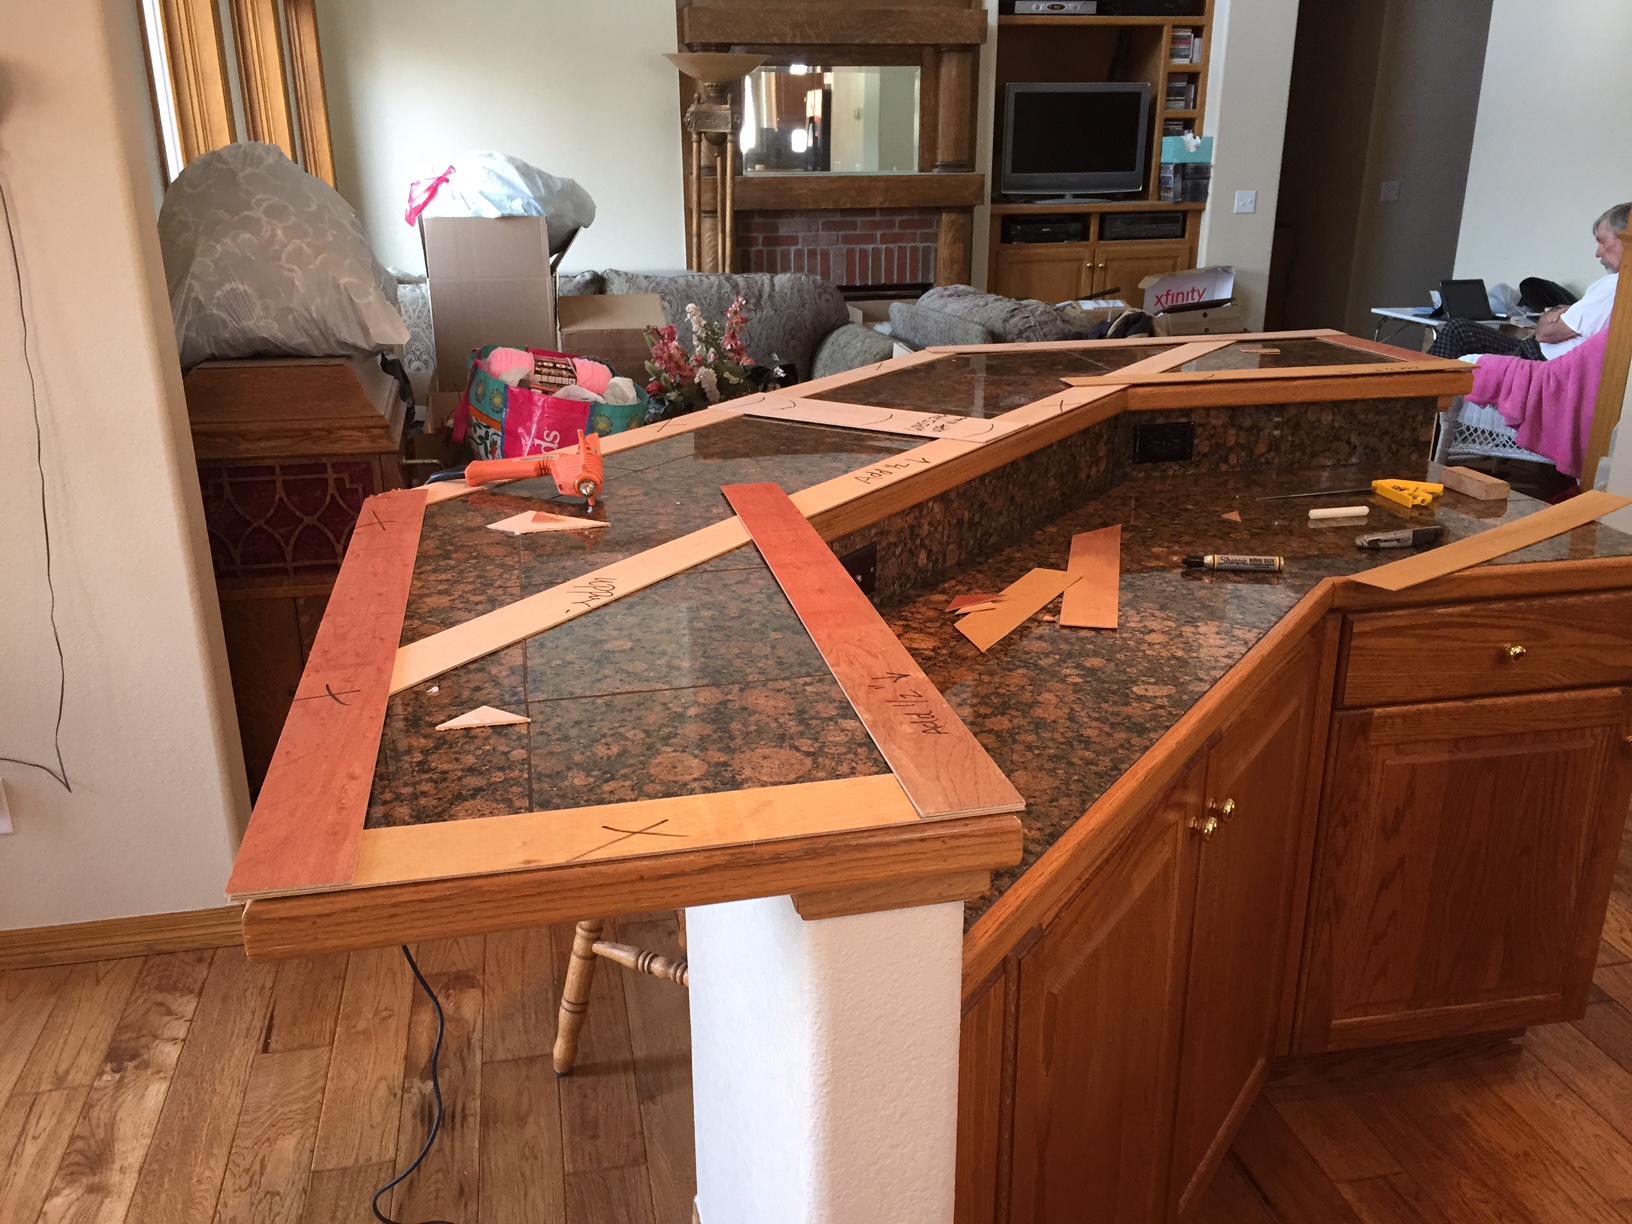
Template of the upper countertop of the island
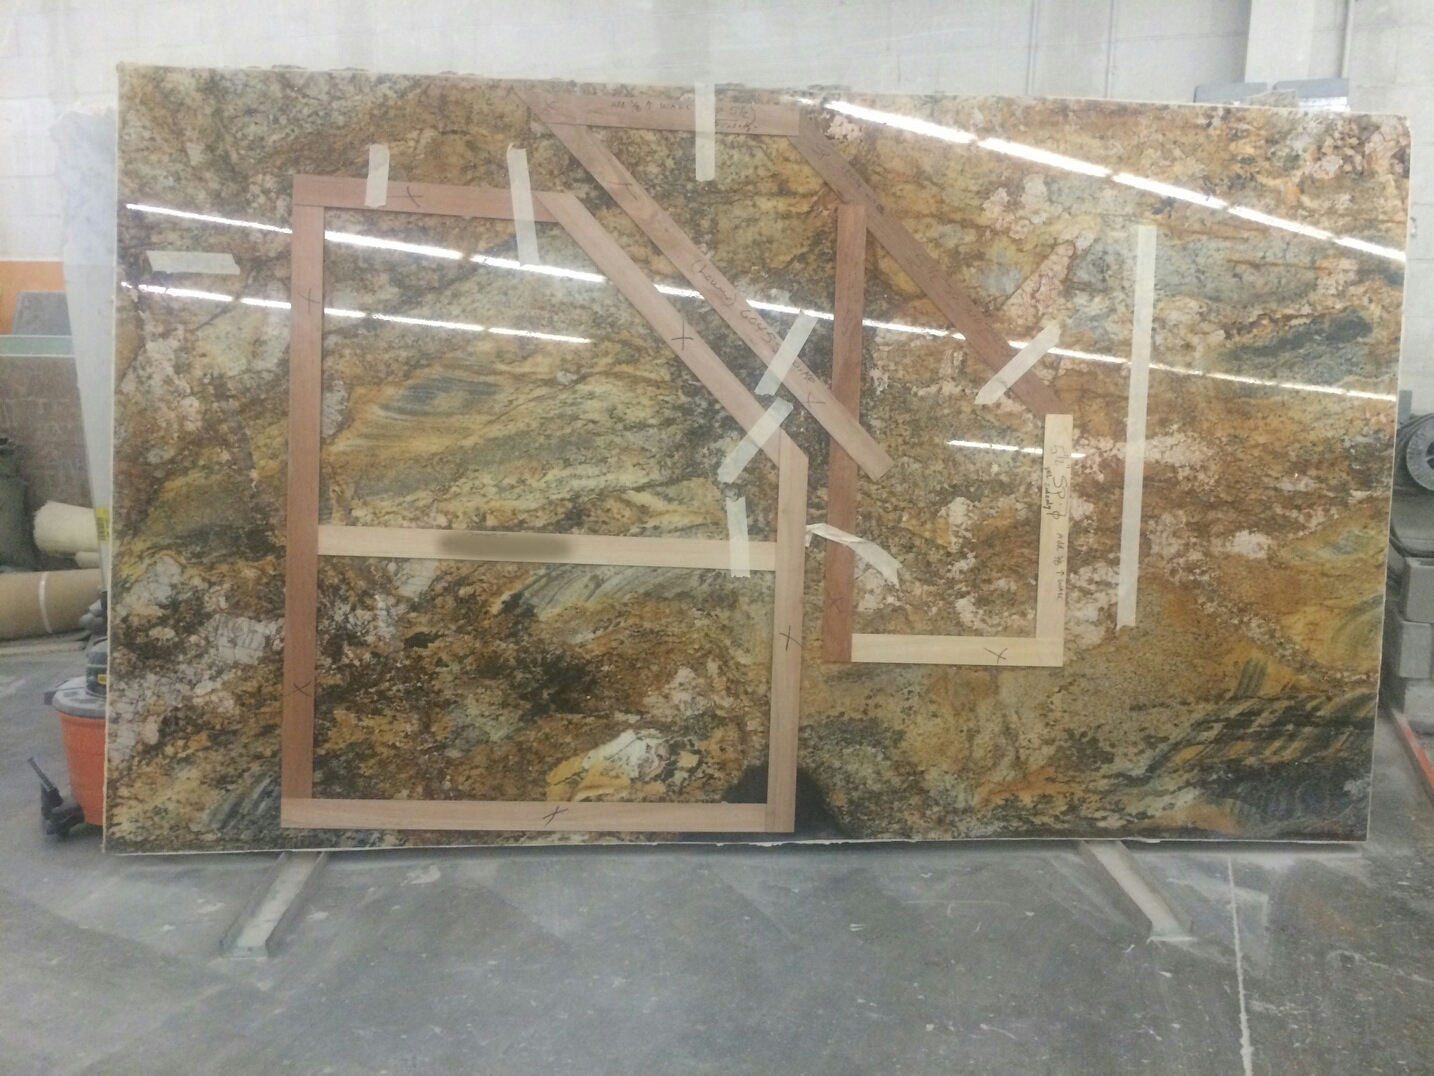
Slab layout on actual Mascarello slabs hand selected by homeowner
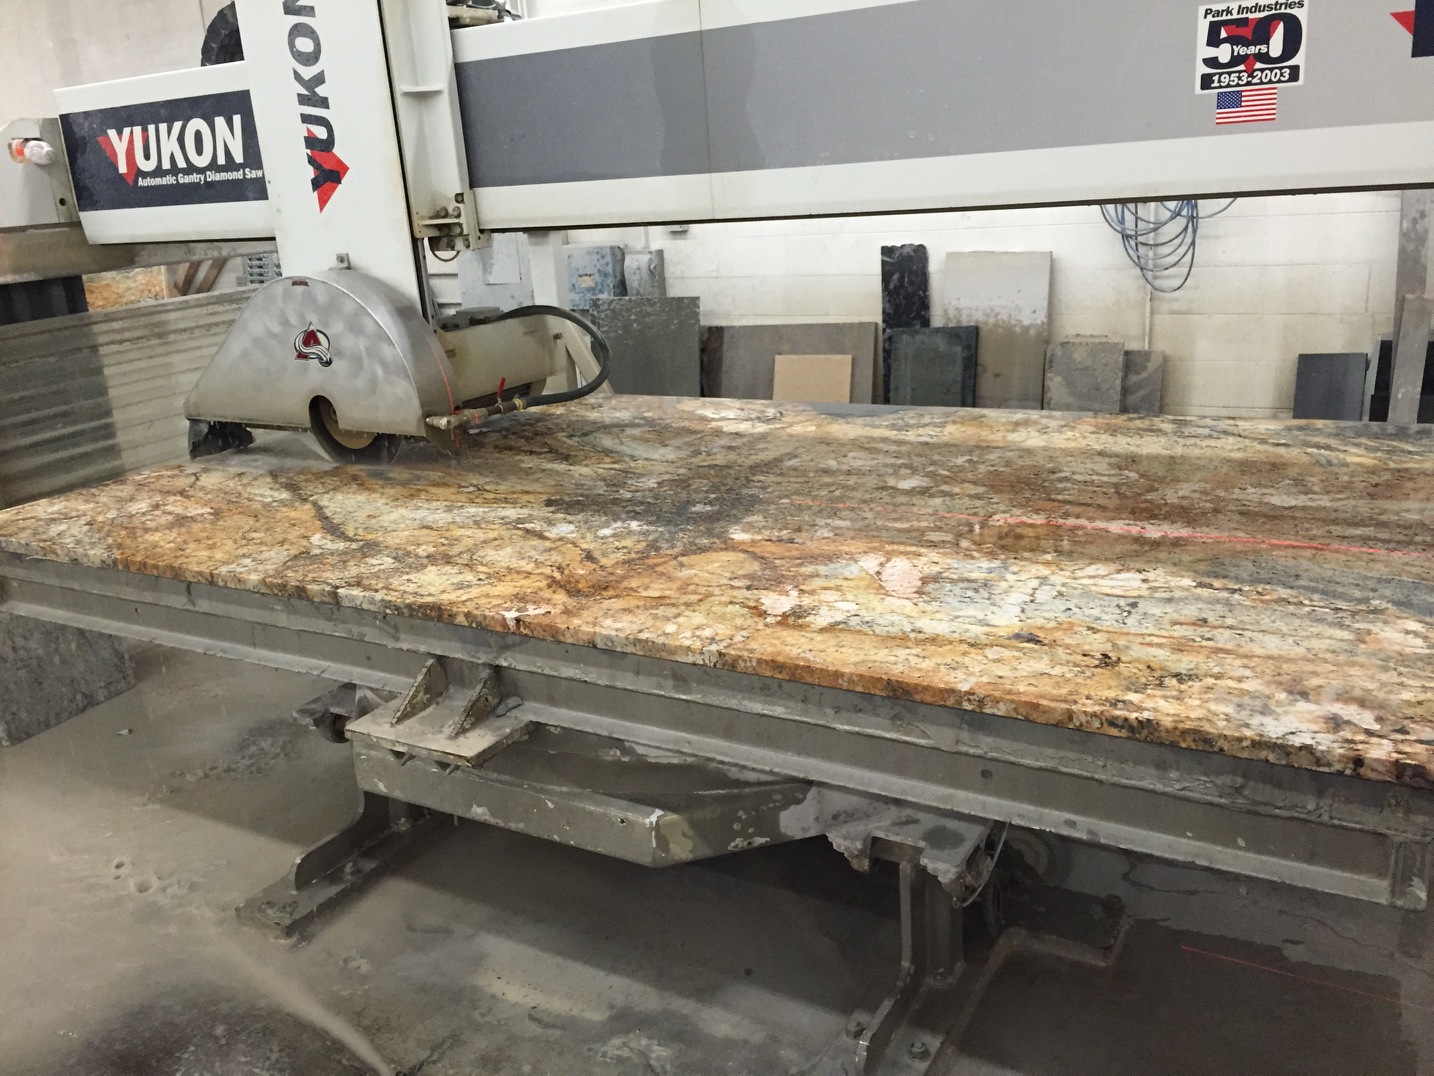
Cutting of the first slab of Mascarello
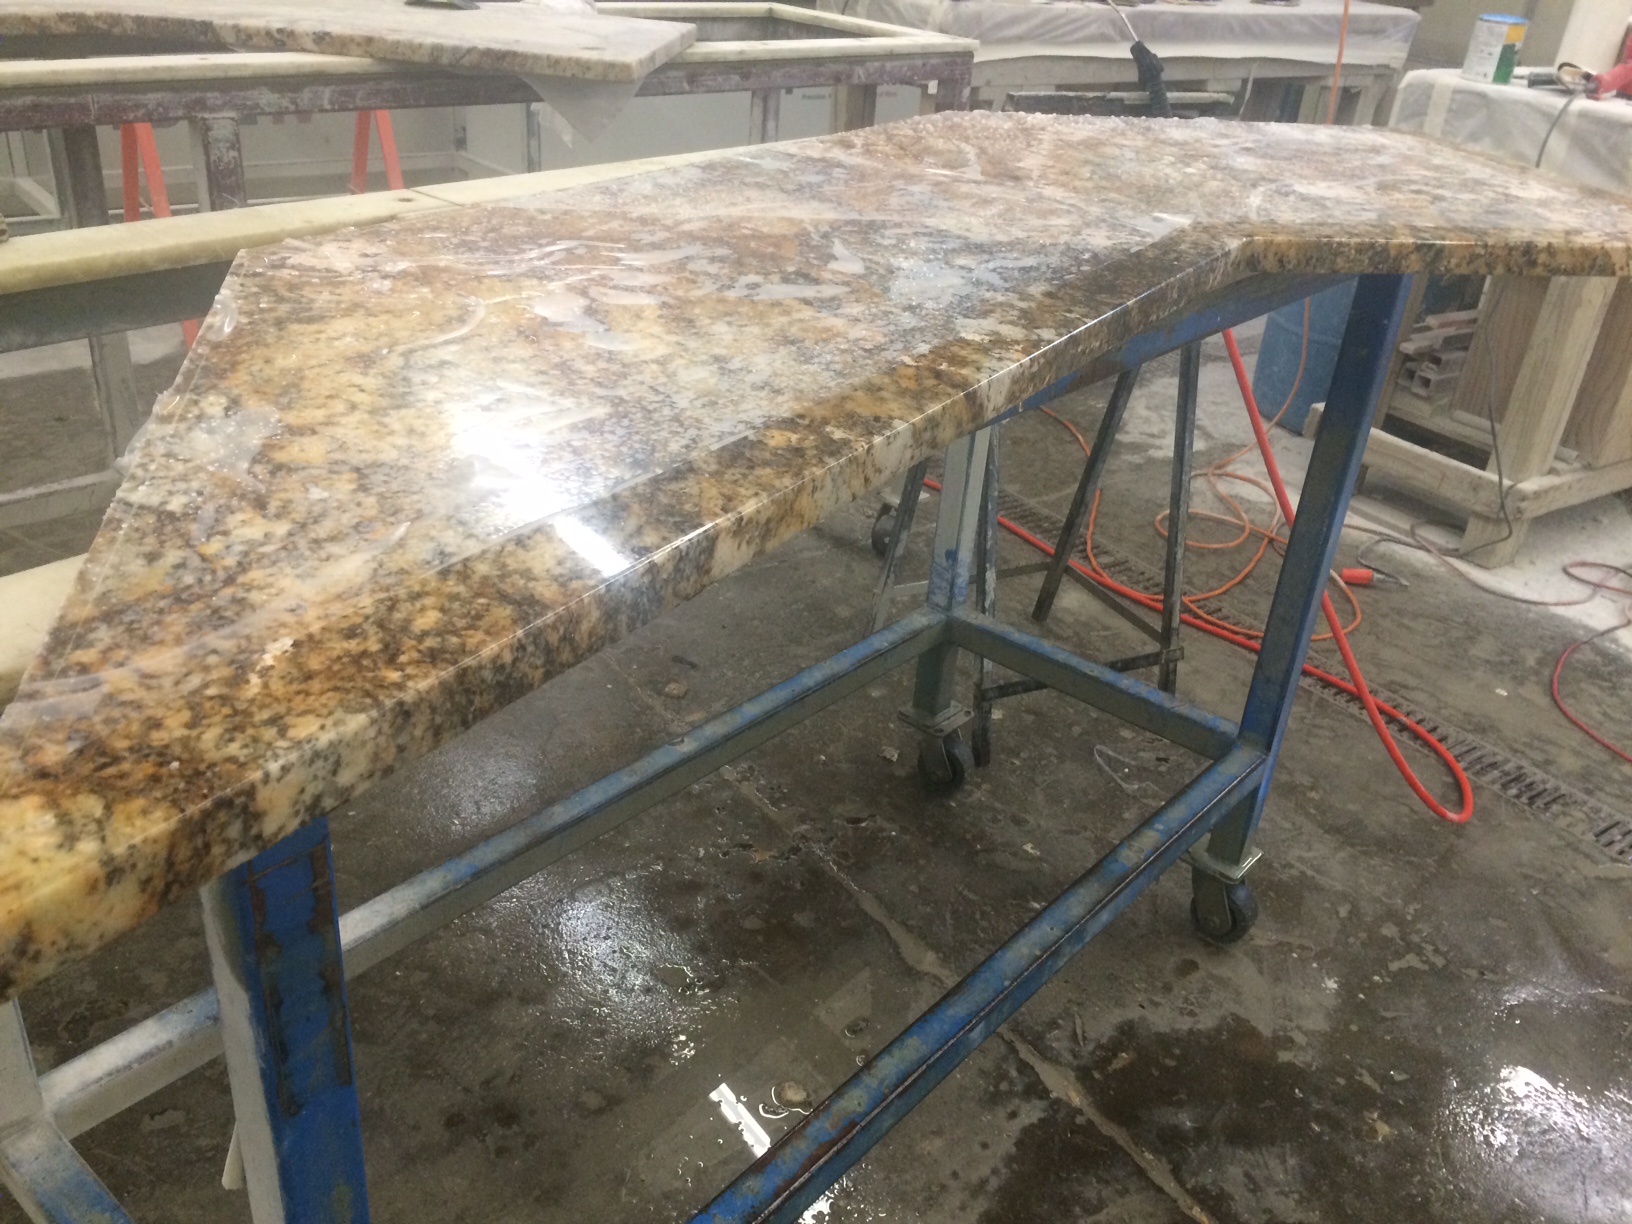
Quarter round edge profile has been applied to the countertop. The shiny material on the countertop is a protective film to protect the face of the slab.
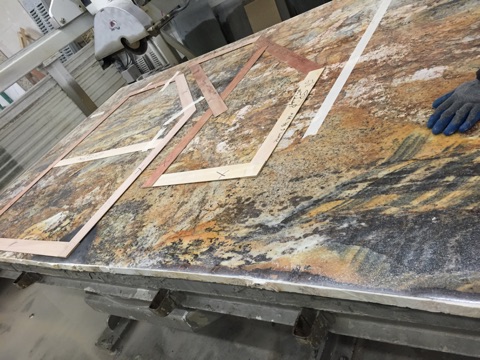
Laying out templates on the second slab
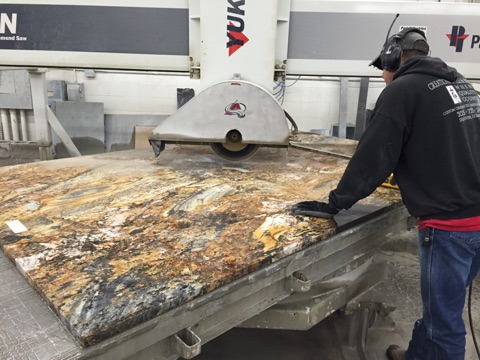
Cutting second slab
Rip out and Slab Installation:
We ripped out this kitchen on Wednesday and everything went according to plan! The installation wrapped up yesterday afternoon and turned out beautiful! Check out the pictures below from our crew and homeowner on their process and progress! Today is Friday and we start the backsplash installation, stay tuned to see the final result!
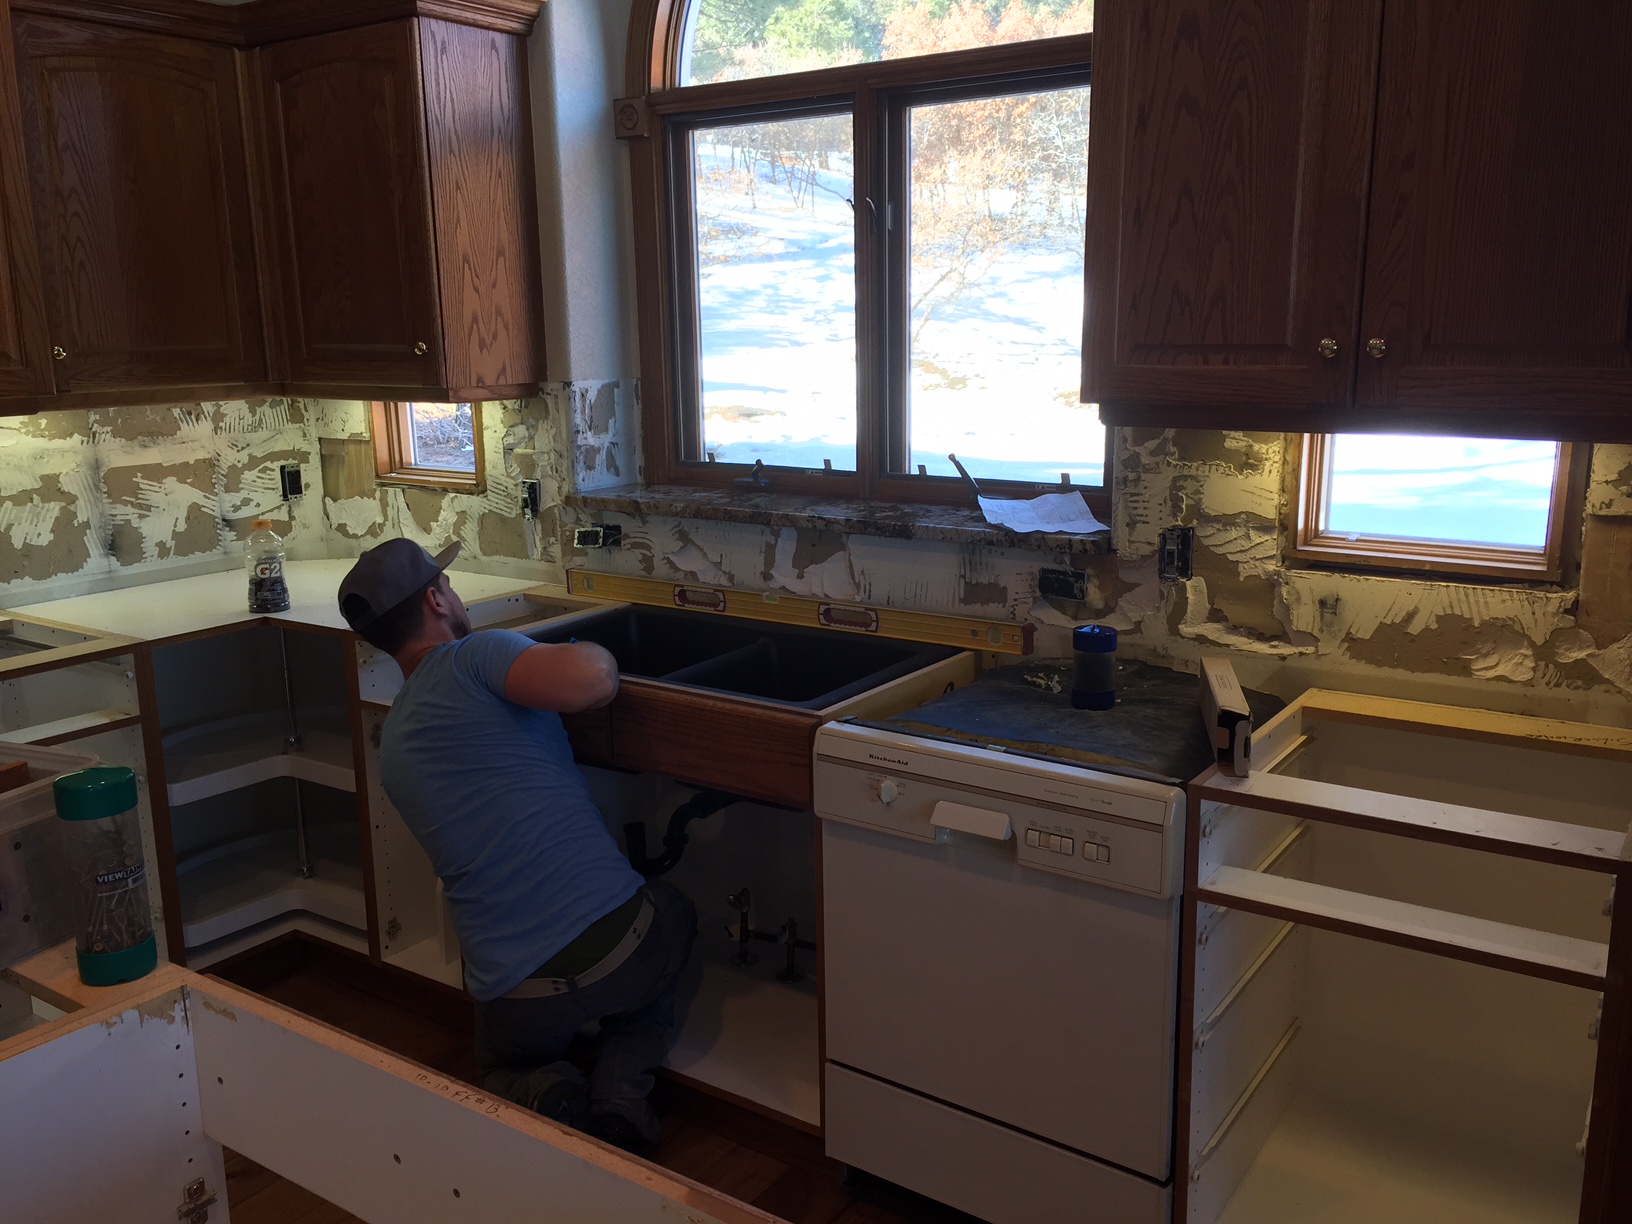
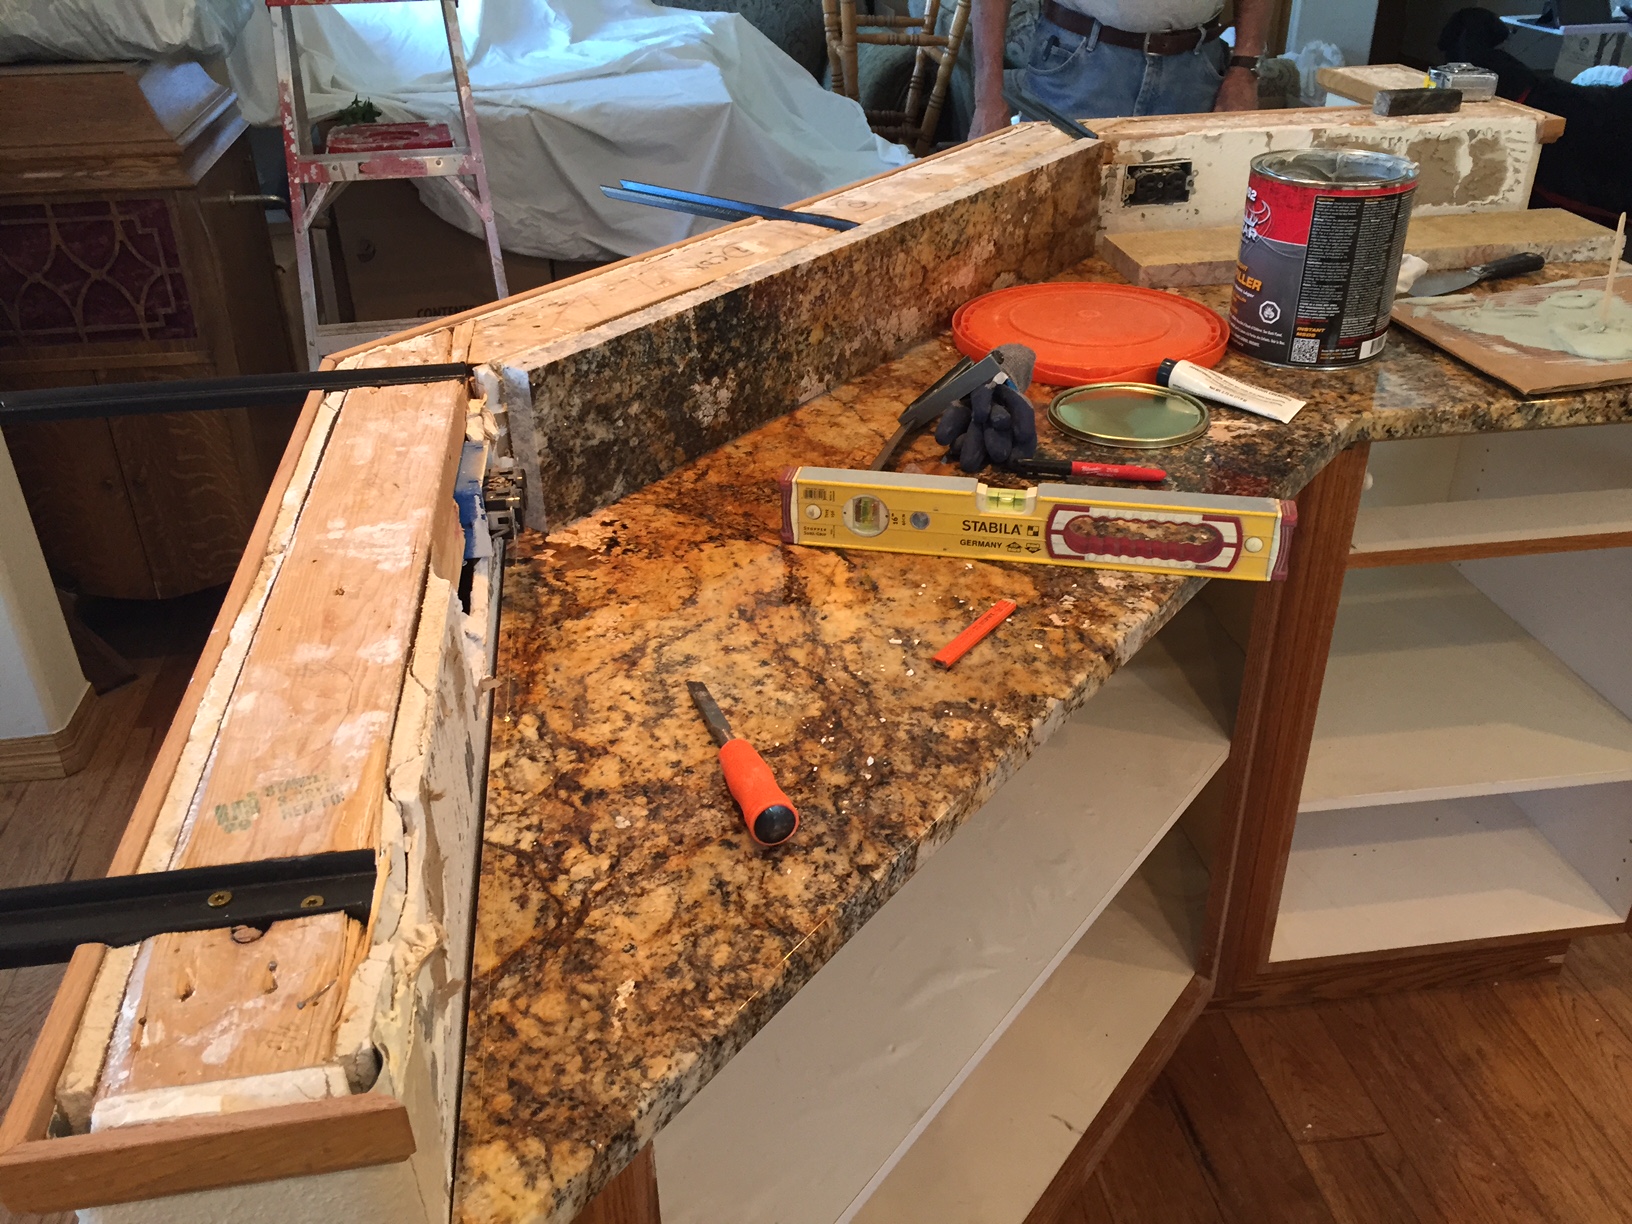
Demo Picture: All tops are off and backsplash is ripped out

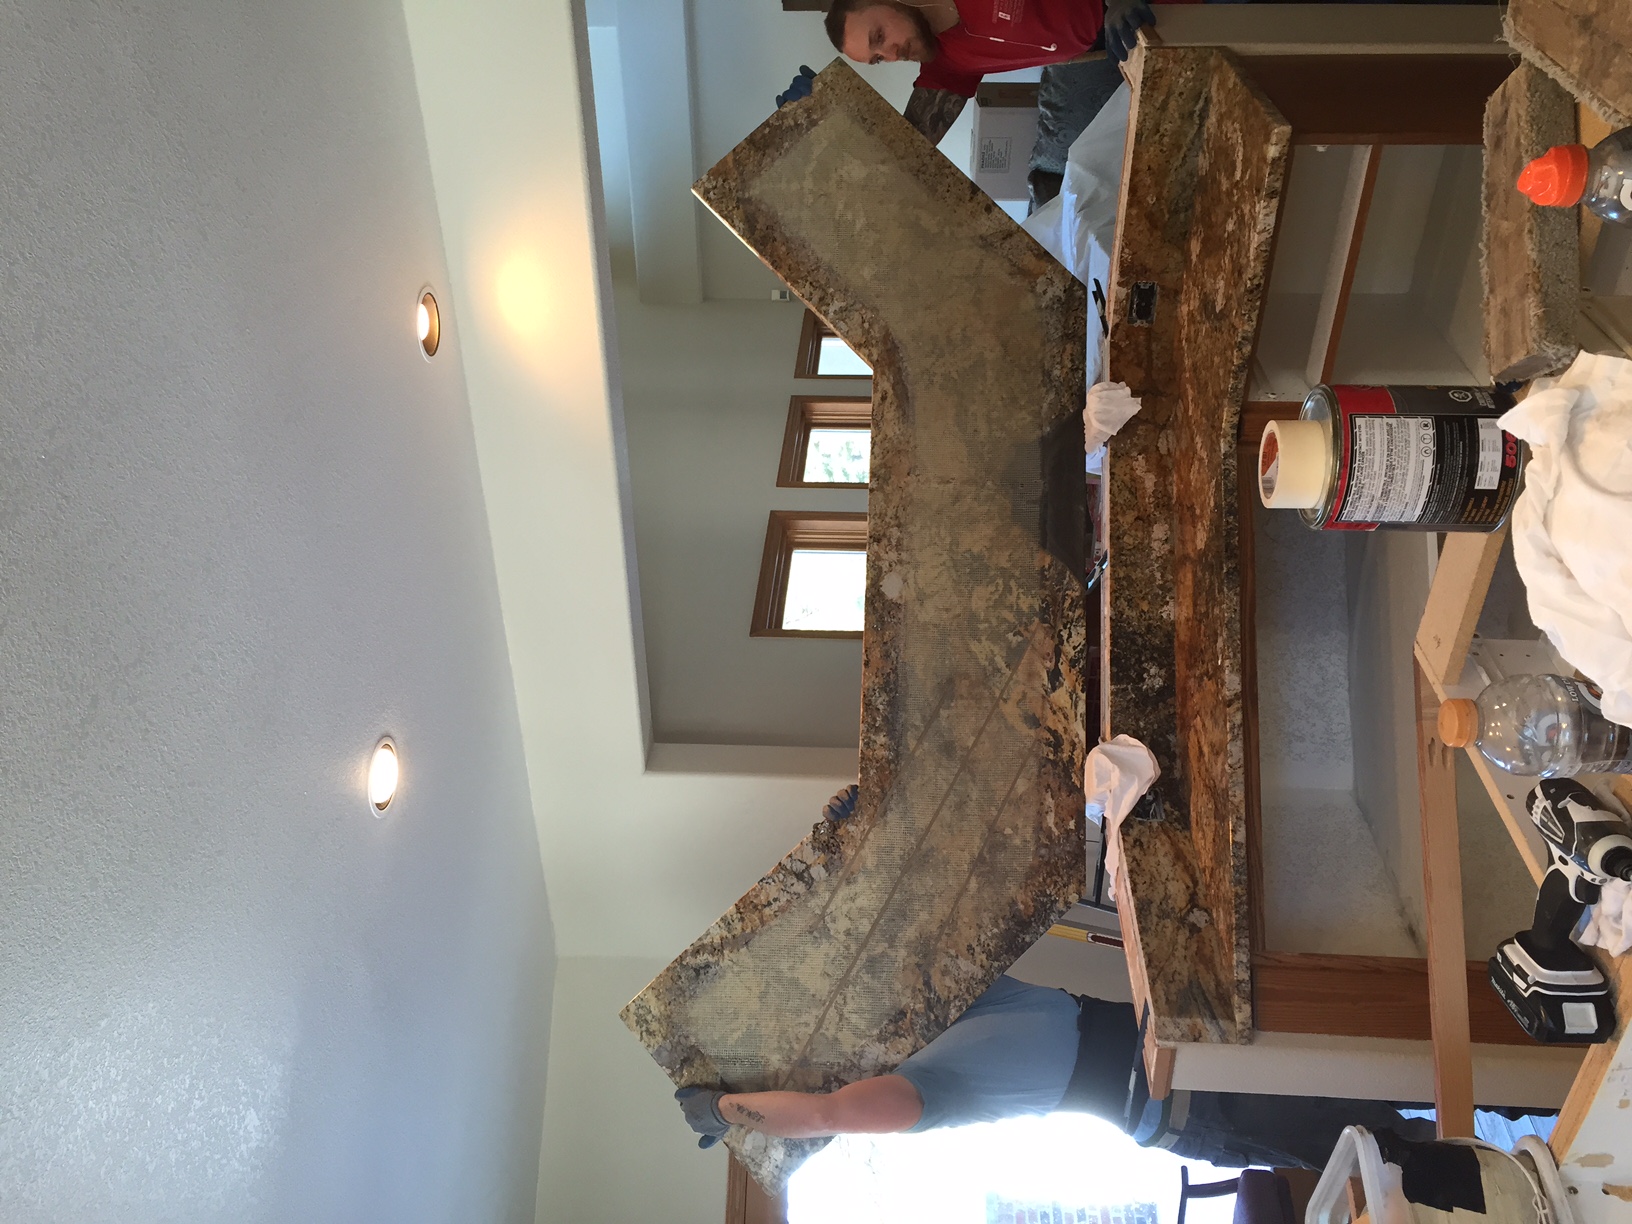
Install guys set upper island piece
Lower Island is in with the riser backsplash
The Black bars shown in this picture are custom made C-Channel supports. This supports the overhang on the upper countertop.
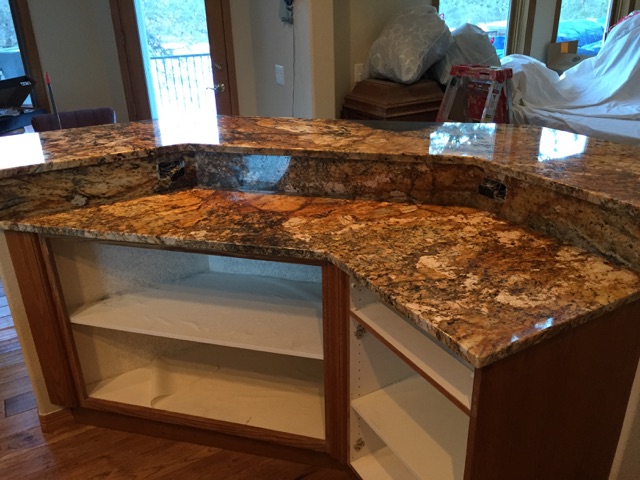
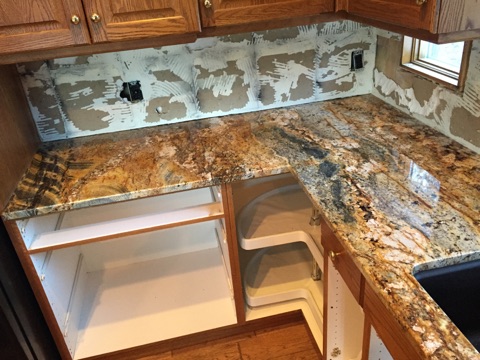
Beautiful Mascarello Island
Check out the unique characteristics in the upper island
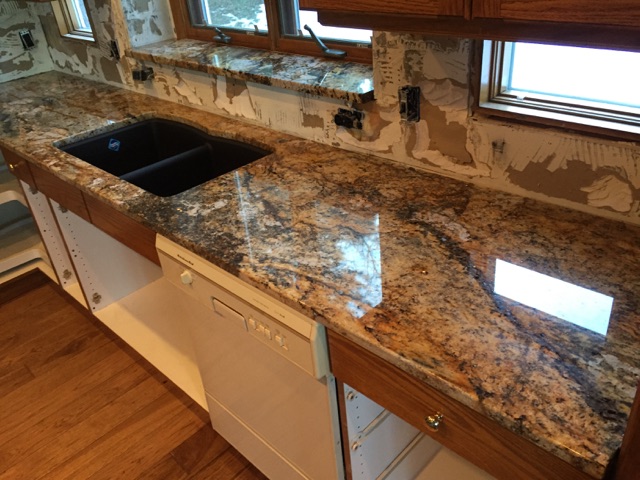
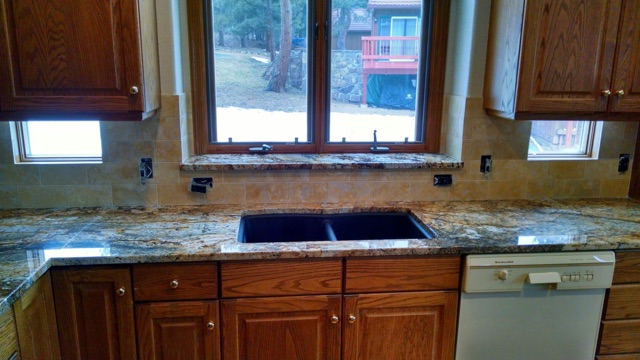
Sink Countertop with an undermount sink hole
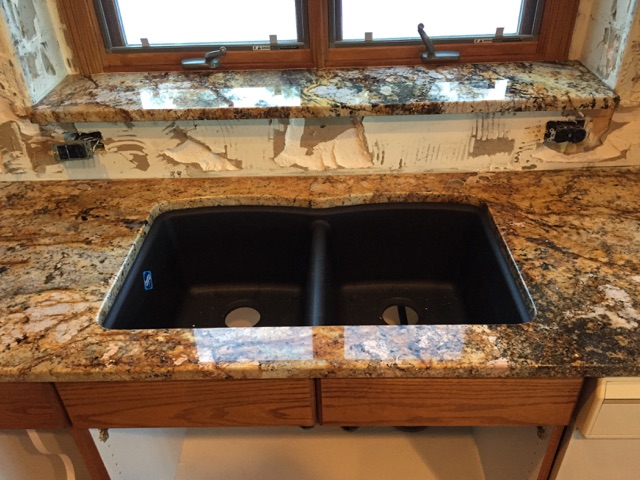
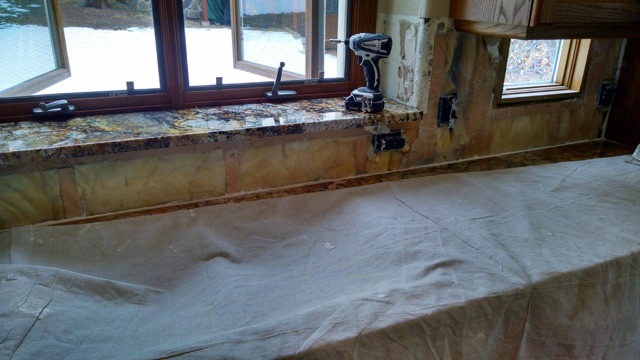
Close up of sink and window sill
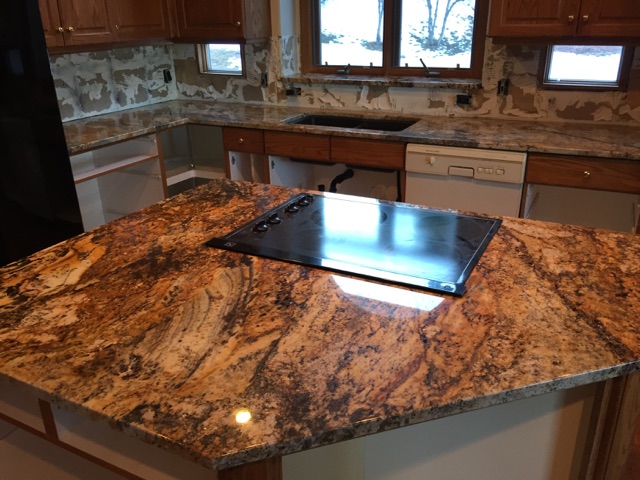
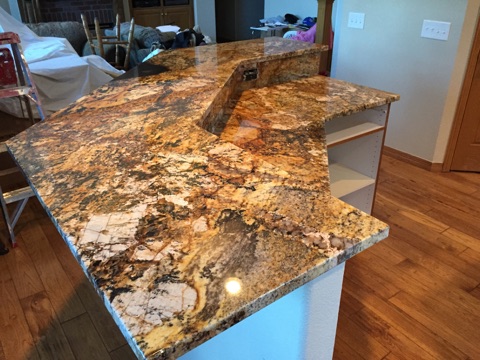
Second Island with a cooktop cut out
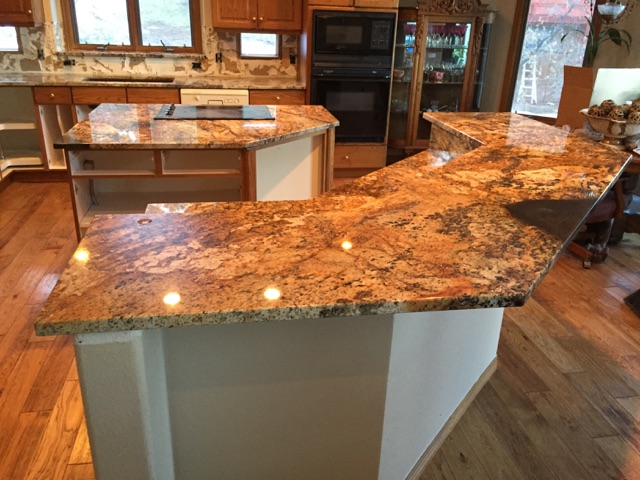
Kitchen overview
There is a seam where these two pieces come together. This seam is a perfect match due to the book matched slabs the client selected and careful layout from our shop foreman.
Tile Installation:
Below are pictures of the tile prep work and tile installation of the backsplash. Instead of having the accent pieces of the Mineral Copper Stainless Steel, it was decided to keep the backsplash simple with the 4″x8″ limestone.
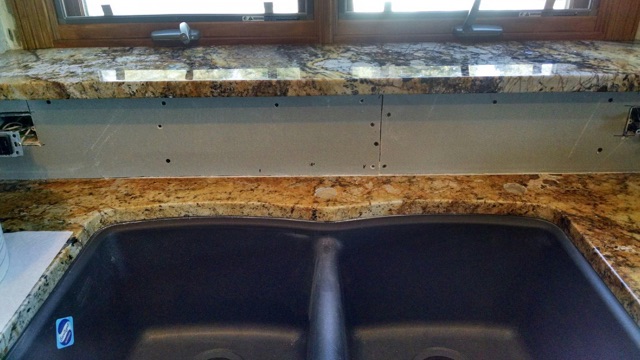
Backsplash prior to prep work
New drywall in
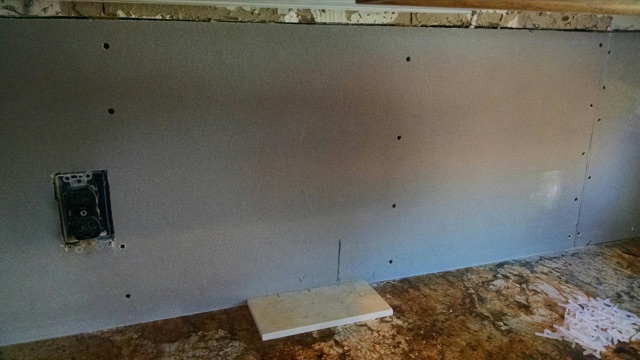
New drywall up before tile is set
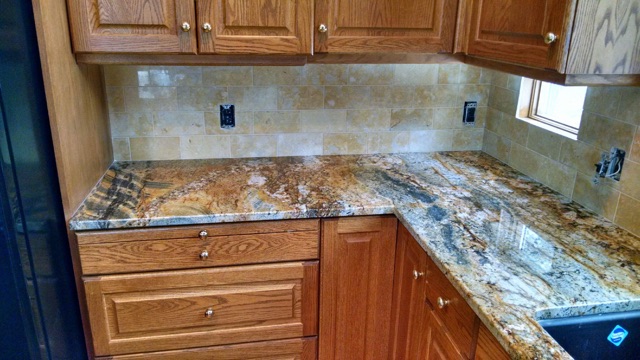
Tile is installed!
Tile installed.